Table of Contents
How to Reupholster a Chair
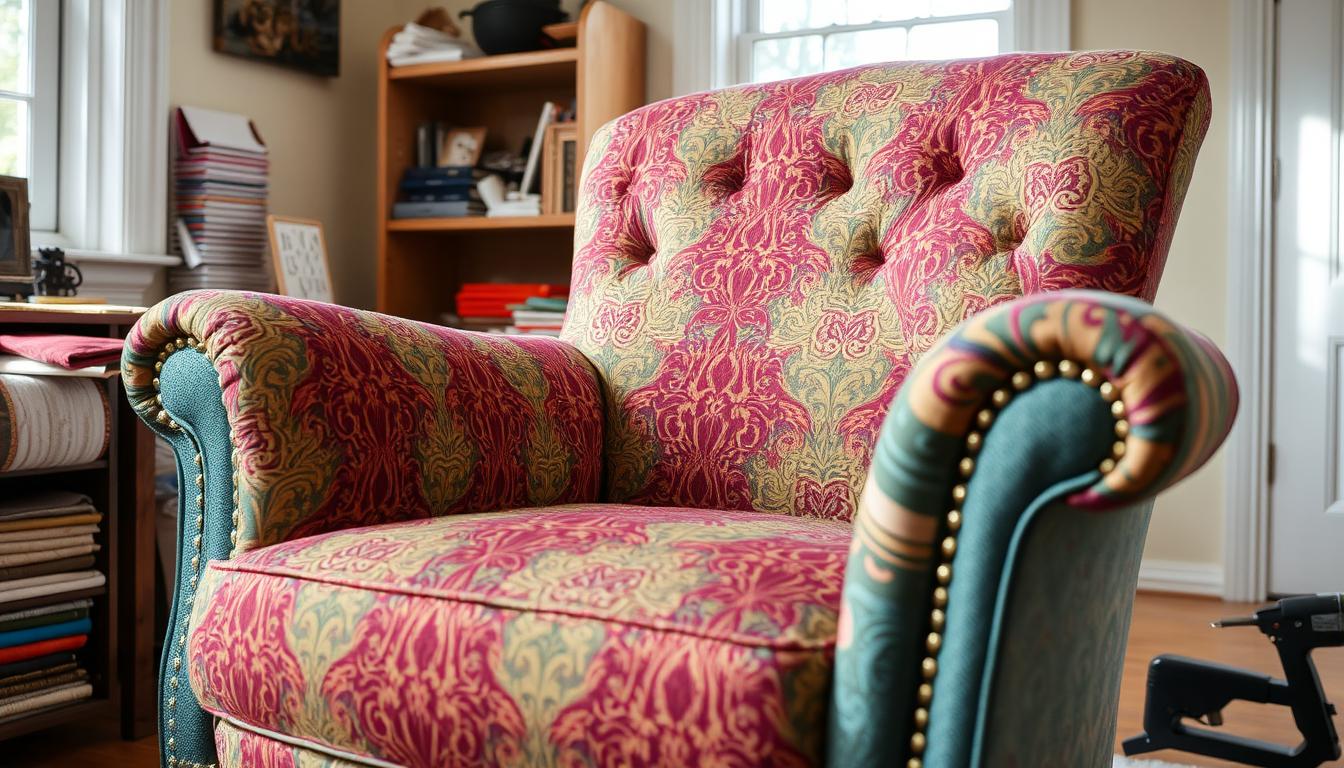
Reupholstering a chair can give an old piece of furniture a new life. It can turn it into a beautiful centerpiece in your home. This guide will walk you through the whole process, from checking the chair’s condition to adding the final touches. Whether you’re experienced in DIY projects or just starting, you’ll get expert advice and techniques to make your chair look like it was made by a professional.
Key Takeaways
- Reupholstering a chair can cost between $60 to $2,000, with an average cost of $650.
- DIY reupholstery projects typically require 2-8 yards of fabric, costing $20-$70 per yard.
- Durable fabrics like wool, poly blends, and leather are recommended for long-lasting results.
- Reupholstering can be cheaper than purchasing a new chair, depending on the fabric and project complexity.
- Proper stapling techniques and creating professional-looking corners are key to a successful reupholstery project.
Understanding the Basics of Chair Upholstery
Reupholstering a chair can give your furniture a new look. But, it’s key to know the basics first. This guide will help you understand the types of chairs you can reupholster, the tools you need, and the materials required.
Types of Chairs Suitable for Reupholstering
You can reupholster many chair styles, like dining chairs, armchairs, and wingback chairs. These chairs usually have strong frames that can handle the reupholstery process. Make sure the chair’s structure is solid and doesn’t have big cracks or creaks.
When to Consider Reupholstering vs. Replacing
Reupholstering is often cheaper than buying a new chair, especially for quality or sentimental pieces. If the chair’s frame is sound, reupholstering can make it look new again. But, if the chair is badly damaged or unstable, it might be better to replace it.
Essential Tools and Materials Needed
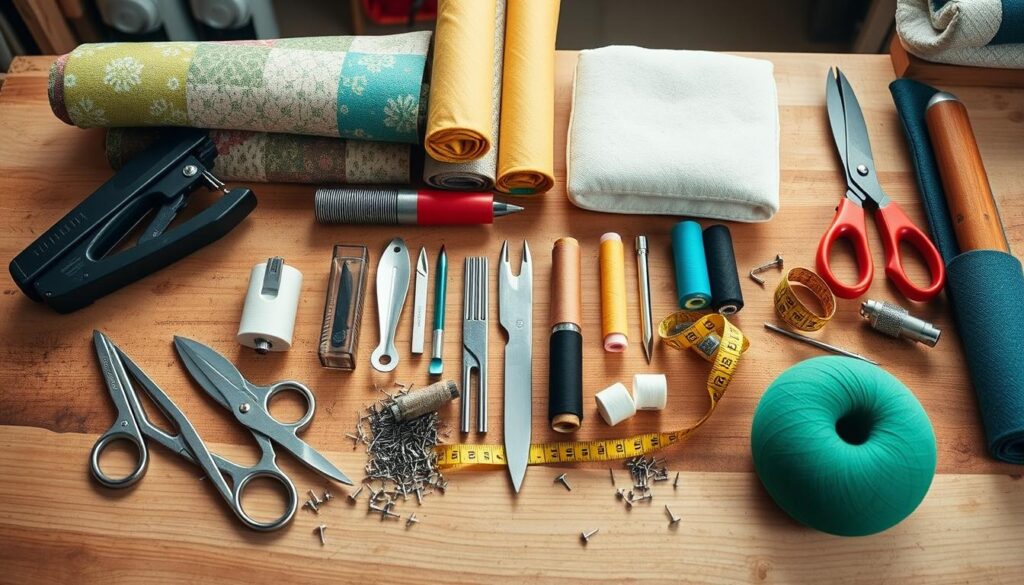
- Upholstery tools and supplies: Staple gun, pliers, scissors, and various upholstery fabrics
- Upholstery materials: Fabric, batting, welting cord, and tack strips
With the right tools and materials, you can confidently start your upholstery project. You’ll explore different upholstery techniques and turn your chairs into stylish, personalized pieces.
Preparing Your Workspace and Gathering Supplies
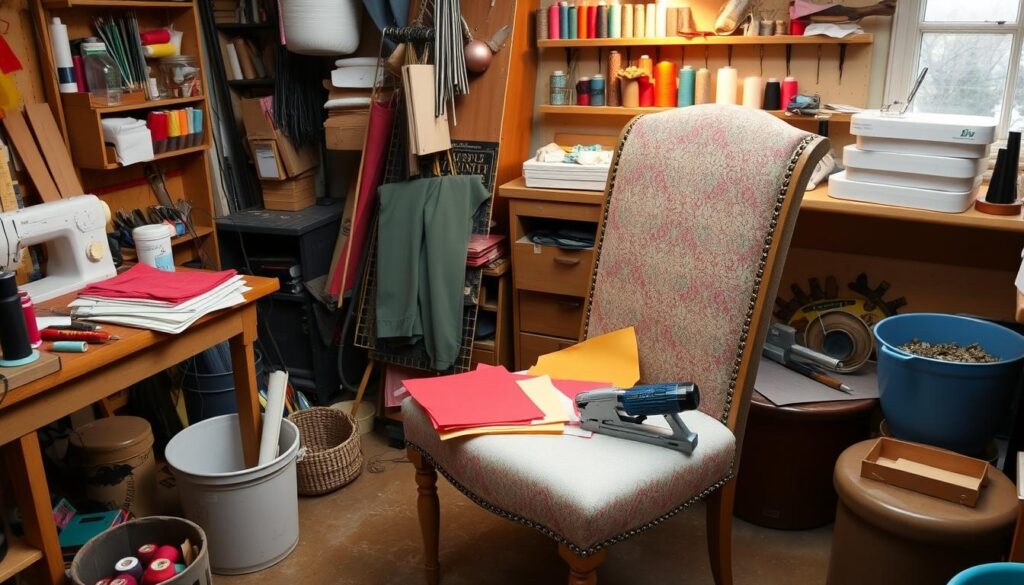
Before starting to reupholster a chair, make sure your workspace is ready. Pick a big, bright area where you can move easily and reach all your tools and supplies.
Get the key tools for your project. You’ll need a staple gun, staple remover, pliers, scissors, screwdriver, and a sewing machine. These tools will help you through the reupholstering process.
Then, choose the right upholstery fabrics. Think about how durable, patterned, and colored they should be. Make sure they match your style. For a vintage Laz-y-boy recliner chair, about 7 yards of fabric were needed.
You’ll also need batting, welting cord, and tack strips for the final touches. The fabrics and supplies you pick can affect your project’s cost. The first time, the chair cost $140. The second time, with pricier fabric, it was around $200.
With a good workspace and the right tools and fabrics, you’re ready to make a beautiful, personalized chair. It will last for years, just like the Laz-y-boy chair did after its first makeover.
How to Reupholster a Chair: Complete Process
Give your old chairs a new life by learning to reupholster them. This guide will show you how to do it step by step. You’ll get a professional look without much effort.
Removing Old Fabric and Staples
Start by taking off the old fabric carefully. Keep it to use as a pattern later. Use a staple remover and pliers to get rid of all staples without harming the chair.
Creating Pattern Templates
After removing the old fabric, make pattern templates from it. Place the fabric on a flat surface and trace its shape onto paper or cardboard. This ensures your new fabric fits perfectly.
Measuring and Cutting New Fabric
Now, use your templates to measure and cut the new fabric. Make sure to add extra for stapling. If your fabric has a pattern, match it carefully for a professional finish.
Success in reupholstering comes from paying attention to details and following a plan. By doing these steps, you’ll make your chairs look amazing with reupholstering chairs and upholstery techniques.
Examining and Repairing the Chair Frame
Before starting the reupholstery, it’s key to check the chair frame well. Look for any damage that might affect the chair’s structure. This step is vital for a successful reupholstery project.
Begin by looking closely at the chair frame for damage. Check for loose joints, worn springs, or cracks. If you find any problems, fix or replace the parts as needed. You might need to sand, prime, and paint the frame to make it look and feel new again.
- Check the chair’s joints for any looseness or wobbling. Tighten any loose screws or bolts to secure the frame.
- Inspect the chair’s springs and webbing. If the springs are worn or the webbing is damaged, replace them to provide proper support and comfort.
- Sand the chair frame to remove any old finishes or imperfections, then apply a fresh coat of primer and paint to give it a new, polished look.
After fixing any structural or cosmetic issues, you can start the reupholstery. You’ll know the chair frame is ready to hold the new fabric. This ensures the chair will be comfortable and stylish for a long time.
Working with Upholstery Fabric Selection
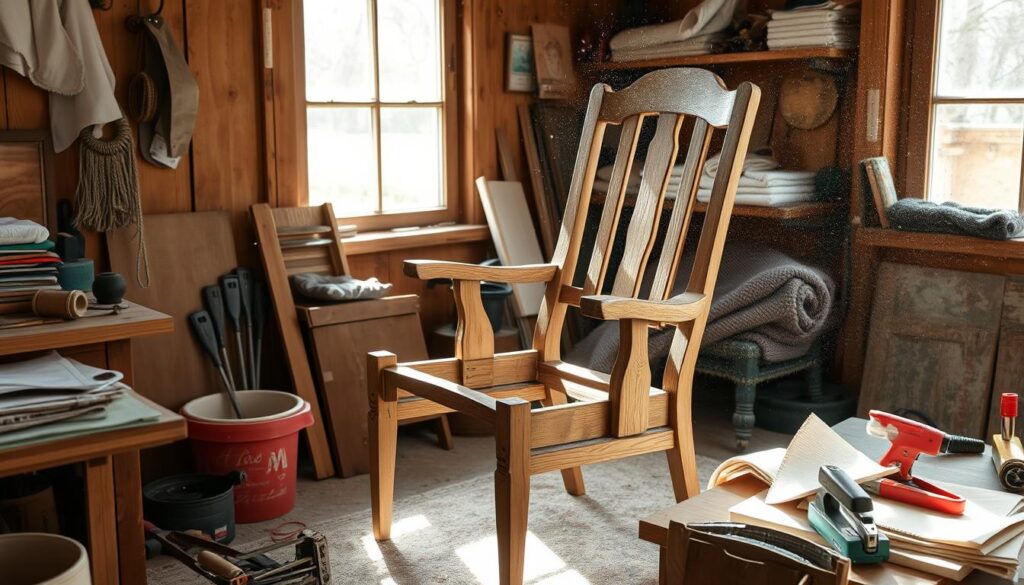
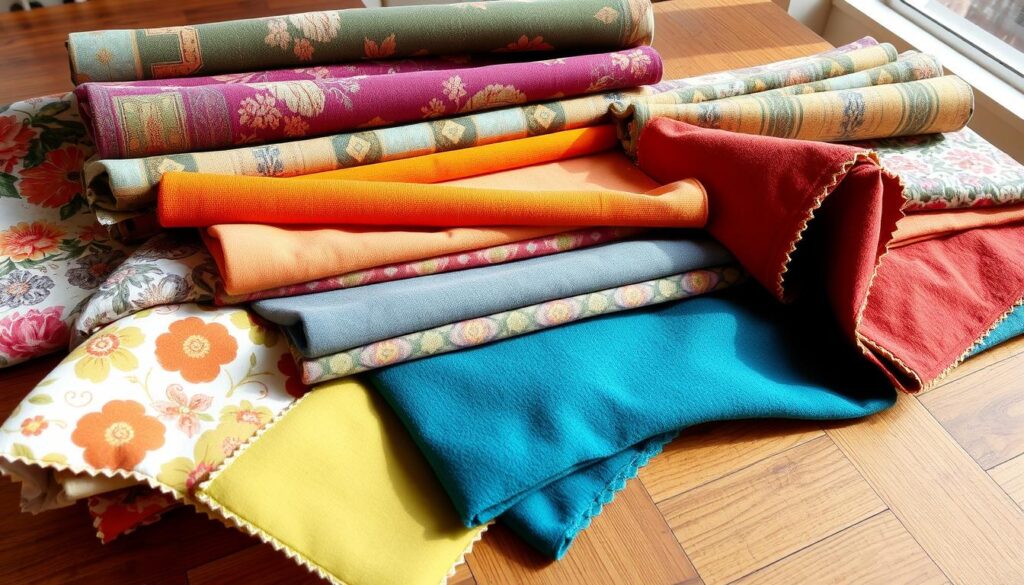
Choosing the right upholstery fabric is key when reupholstering furniture. The right fabric can change your chair’s look and make it last longer. You can pick from natural fibers like cotton, linen, and wool, or synthetic options like microfiber and nylon.
Best Fabric Types for Durability
For busy areas, pick fabrics known for lasting well. Wool and wool blends are great because they resist pilling, fading, and stains. Synthetic fabrics like microfiber and nylon are also good for their toughness and easy care.
Pattern Matching Techniques
For a smooth, professional look, mastering pattern matching is important. This skill ensures patterns line up perfectly, creating a beautiful finish. It takes precision, but the outcome is worth it.
Calculating Fabric Requirements
- Measure the chair’s dimensions, including the seat, back, and arms, to determine the total fabric needed.
- As a general rule, plan for 1-2 yards of fabric per dining chair, depending on the size and style of the chair.
- Don’t forget to account for any pattern matching or additional fabric required for wrapping and stapling the edges.
Choosing the right upholstery fabric is a key part of reupholstery. Think about durability, pattern matching, and how much fabric you need. This way, you can make your chair look great and last a long time.
Adding Padding and Batting
When you’re reupholstering a chair, picking the right padding and batting is key. It makes the chair comfy and supportive. You need to choose the right materials and techniques for a smooth surface.
The padding you pick depends on the chair’s use and what you like. You can choose from cotton batting, wool batting, polyurethane foam, or latex foam. Each has its own feel and benefits. Think about how you’ll use the chair, how comfy you want it, the weather, your budget, and your skills when picking.
- Cotton batting is available in two weights, both suitable for upholstery projects.
- Wool batting comes in two types: Needled Wool Batting and Layered Wool Batting.
- Polyurethane foam, the most common stuffing type, varies in densities and firmness levels.
- Latex foam, more expensive than polyurethane, is durable, resilient, and antimicrobial.
When adding padding, cut it to fit the chair back and seat perfectly. This ensures even comfort. Staple it down gently to avoid wrinkles. If needed, use spray adhesive for extra grip.
Choosing and applying the right padding and batting can turn an ordinary chair into a cozy spot. It makes your DIY upholstery project even better.
Installing New Upholstery
Reupholstering chairs needs careful attention to detail, especially when installing new fabric. Learning the right upholstery techniques can turn an old chair into a beautiful piece. Let’s look at the main steps in this process.
Proper Stapling Techniques
Use a staple gun to attach the new fabric to the chair frame. Start from the center of each side and move outward. Make sure to pull the fabric tight for a smooth finish. The right stapling technique is key for a professional look.
Creating Professional Corners
To get clean, crisp corners, fold and pleat the fabric carefully. Tuck it neatly into the corners for a polished look. This detail can greatly improve your project’s appearance.
Adding Decorative Elements
Add elegance with decorative elements like welting or nailhead trim. These touches can enhance your chair’s personality. Measure and apply them carefully to match the fabric and chair design.
Success in reupholstering chairs comes from paying attention to detail and mastering upholstery techniques. By following these steps, you can make your chairs look custom-made and beautiful, adding to any room’s decor.
Finishing Touches and Trim Application
As you near the end of your furniture reupholstery project, it’s time to add the final touches. These will give your chair a professional, polished look. One key step is to add welting or trim to hide the staples and raw edges of the new fabric. You can use fabric glue or hand-sewing to attach the welting or trim around the chair’s edges.
If you want to add something special, consider buttons or tufting on the chair’s back or seat. These details can make a simple chair look stunning. Just make sure to measure and place them carefully for a cohesive look.
Don’t forget to put back any parts you removed during the reupholstering, like the chair arms or back. This will make sure your chair is fully put together and ready to use. Also, applying a dust cover to the underside of the chair will complete the look.
By adding these finishing touches, you’ll turn your worn-out chair into a beautifully reupholstered piece. It will show off your skills and attention to detail. With a bit of extra effort, you can make your furniture reupholstery project look even better.
Common Mistakes to Avoid During Reupholstery
Reupholstering furniture can be a fun DIY project. But, it’s key to avoid common mistakes. One big error is not having enough fabric. Make sure you have enough to cover the chair frame and match patterns.
Also, stapling fabric wrong can ruin your work. So, staple it tightly and evenly. This keeps your upholstery looking great.
Before starting, check the chair frame for repairs. Skipping this can cause problems later. Also, add new padding or batting if the cushions are old or thin. This makes your chair comfy and sturdy.
- Watch out for fabric tension issues. They can make your chair look bad.
- Be careful with delicate fabrics or complex patterns. They need precise cutting and alignment.
- Using the right techniques is crucial. This includes making neat corners and adding decorations.
By avoiding these mistakes, your DIY projects will look amazing. Remember, paying attention to details is vital for great upholstery.
Conclusion
Reupholstering a chair is a fun DIY project that can save you money. It lets you make your furniture your own. With the right techniques and care, you can get amazing results.
Choose the right how to reupholster a chair fabrics and take your time. Enjoy the journey of making your furniture new again.
By following our guide, you’ve learned the basics of furniture reupholstery. From setting up your space to adding the final touches. Reupholstering your chairs can make old furniture new again and help the environment by using what you already have.
Whether it’s a family heirloom or a thrift store find, making a custom-upholstered chair is incredibly rewarding. Be creative, try out different fabrics and patterns, and be proud of your new skill. With patience and practice, you can make your home look fresh and stylish.
