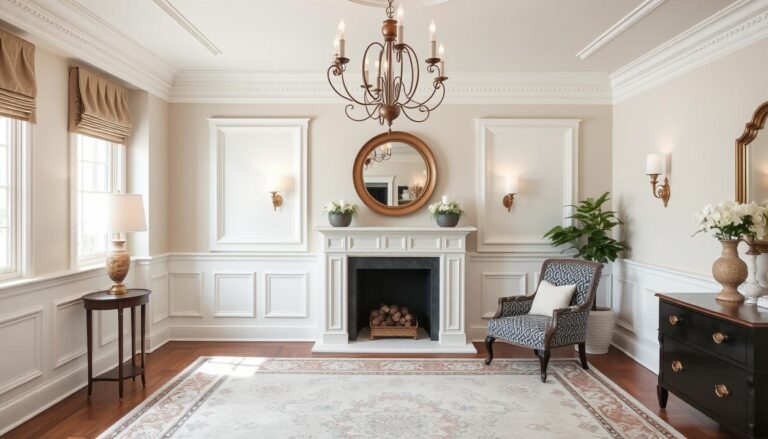
can you paint over stained wood
Table of Contents
can you paint over stained wood
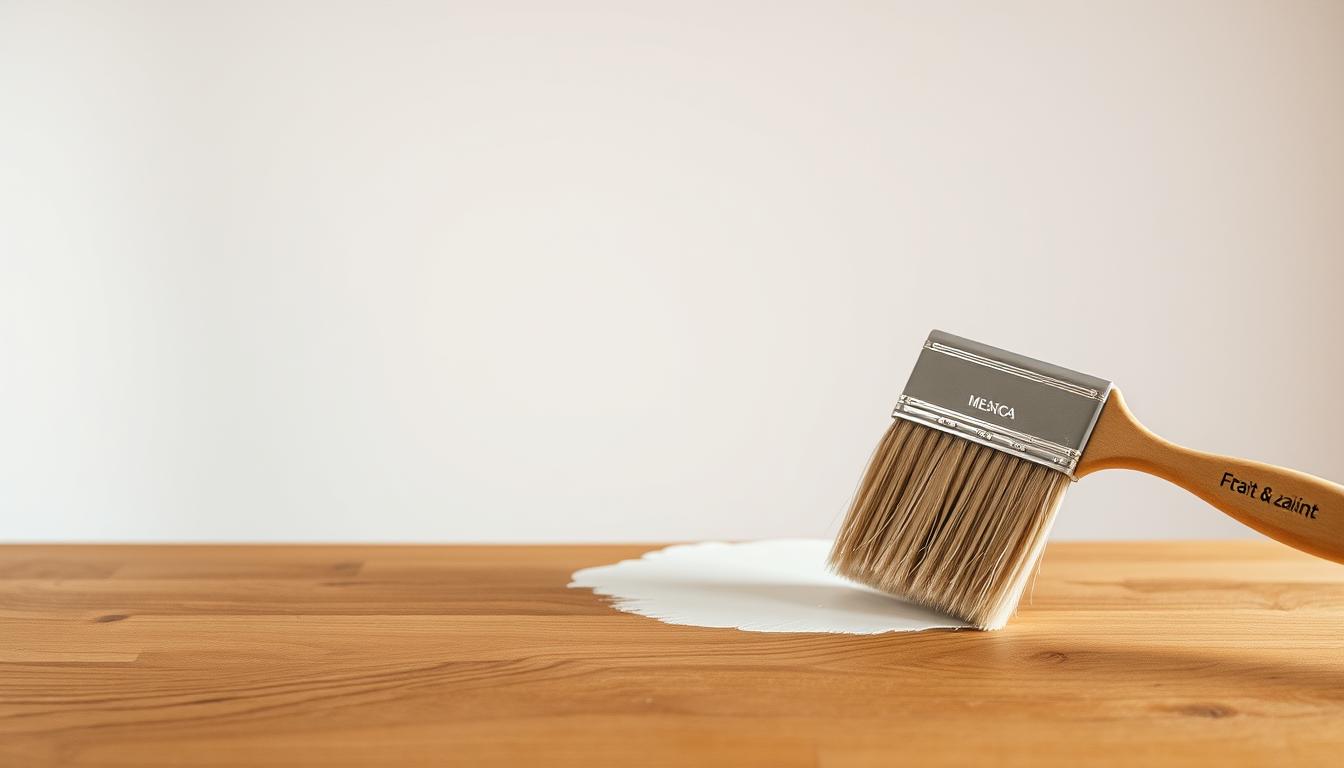
Wondering if you can paint over stained wood? Good news – it’s possible! Painting over wood stain can give old furniture a new life or refresh your home’s look. But before you start, there’s important prep work to do.
The secret to success is in the prep work. Without it, tannins from the stain might bleed through your paint. This can cause ugly stains and mess up your work. But, with the right steps, you can get a smooth, lasting finish.
To begin, figure out what kind of stain you have. Is it water-based or oil-based? This will help you choose the right primer. Then, clean, sand, and possibly degloss the surface. These steps help your new paint stick well.
Painting over stained wood isn’t quick. It takes time and patience. But, the results can be amazing, changing your space without needing to buy new things.
Key Takeaways
- Painting over wood stain is possible with proper preparation.
- Identifying the stain type is crucial for choosing the right primer.
- Thorough cleaning and sanding are essential steps.
- Priming helps prevent tannin bleed-through.
- The process requires time and patience but can yield great results.
- Two coats of paint are typically recommended for best coverage.
Understanding Wood Stains and Paint Compatibility
Wood stains come in different types, each with its own characteristics. You can find oil-based, water-based, gel, and hybrid stains. The type you choose affects how long it takes to dry, how durable it is, and how easy it is to apply.
Types of Wood Stains
Oil-based stains are very durable, making them great for places that get a lot of use. They take about 8 hours to dry. Water-based stains dry much faster, usually in 1-2 hours. Gel stains are thicker and harder to spread evenly. Hybrid stains mix oil and water-based features but are not as common.

Paint Types Suitable for Stained Surfaces
When painting over stained wood, picking the right paint is important. Latex paint works well with water-based stains. For oil-based stains, you might need to do some extra prep. Some paints are made specifically for stained surfaces, offering better adhesion and coverage.
Benefits of Painting Over Stain
Painting over stain has many benefits. It can give old furniture a new look or protect outdoor wood. Tips for painting stained wood include using the right primer and paint. This method can make your wood surfaces last longer, especially in harsh weather.
- Refreshes outdated furniture
- Protects wood from UV damage
- Covers imperfections in older wood
- Extends the life of exterior wood surfaces
Remember, proper preparation is crucial for painting over stain. Clean the surface, sand if needed, and use a suitable primer. With the right techniques, you can turn your stained wood into a beautiful painted finish.
Essential Tools and Materials Needed
To paint over stained wood, you need the right tools and materials. Start with sandpaper in different grits. Use medium (120-150) for the first sanding and fine (220-240) for the final touch.
A chemical deglosser is key, especially for oil-based stains. For repairs, wood filler is a must. An oil-based primer helps the paint stick well to varnished surfaces.
When picking paint, think about oil-based options. They last longer, especially in places with changing temperatures and humidity.

- Trisodium phosphate (TSP) for deep cleaning
- Paintbrushes or rollers
- Protective gear (gloves, goggles, mask)
- Drop cloths
- Paint tray
Proper preparation is crucial. Let the primer dry for 30-40 minutes. Wait 8-10 hours before adding more paint coats. With these tools and materials, you’re ready to make your stained wood look great. It can last 5-10 years with the right care.
Surface Preparation Techniques
Getting stained wood ready for paint is key to a great finish. The right prep ensures your paint sticks well and looks good for years. Let’s look at the main steps to prepare your stained wood for painting.
Cleaning the Stained Surface
Begin by cleaning the wood well. Mix warm water with mild soap to get rid of dirt, grime, and oils. For hard stains, Krud Kutter works well. Rinse well and let it dry before you continue.
Sanding Requirements
Sanding stained wood before painting is vital. Use 150-220 grit sandpaper to roughen the surface. This helps the paint stick better. Don’t remove all stain, just roughen the finish. Clean off dust with a tack cloth or vacuum after sanding.
Using Chemical Deglossers
If sanding is hard, chemical deglossers are a good choice. They remove the glossy finish, making it ready for paint. Follow the maker’s instructions and clean with a lint-free cloth after applying.
Repairing Surface Damage
Fix any wood damage before painting. Use wood filler for holes or cracks, then sand smooth when dry. For big repairs, wood putty or epoxy might be needed. A smooth surface means a better paint job.
After these steps, your stained wood is ready for paint. Remember, careful prep leads to a professional finish that lasts.
Can You Paint Over Stained Wood: Complete Guide
Painting over stained wood is a smart way to update your furniture or cabinets. It can turn old, dark pieces into bright, modern ones. This guide will help you achieve a professional look.
Getting ready is the first step. Clean the surface well. Then, sand the wood lightly to make it smooth for paint. If it’s glossy or in a busy area, roughen it more. A de-glosser can help without too much sanding.
Priming is crucial. Use a primer that matches your project. For outdoor use, oil-based primers seal well. Indoors, water-based ones with low VOCs are better. You might need one coat for good wood or two for bad.
When picking paint, consider these:
- Oil-based enamel: Great for busy spots like doors and cabinets
- Latex: Good for indoors because it has low VOCs
- Acrylic: Durable and easy to clean up
- Oil-based: Covers well and lasts long
Be patient. Stains need 72 hours to dry before painting. After painting, wait a week for the best finish. With these tips, your stained wood will look new and last long.
Priming Techniques for Different Stain Types
Priming stained wood is key for a great paint job. The right primer stops bleed-through and helps paint stick well. Let’s look at how to prime different stains.
Water-Based Stain Priming
Water-based stains need a water-based latex primer. It dries fast and sticks well. Put on one coat and wait 2 hours to dry. Lightly sand with 220-grit sandpaper before painting.
Oil-Based Stain Priming
Oil-based stains need a bonding primer. These primers work well on glossy surfaces. Apply a thin coat and wait 24 hours to dry. For outdoor projects, use an oil-based primer for a strong seal.
Stain-Blocking Primers
Stain blocking primers are vital to stop tannin bleed-through. They seal wood knots and pores for even paint coverage. For tough stains, experts suggest using alcohol-based primers like BIN.

Remember, proper surface prep is crucial. Sand the wood with 120-150 grit sandpaper before priming. This helps the primer stick better and prevents paint peeling. Always wear a respirator when applying primers to avoid inhaling fumes.
- Apply one coat of stain-blocking primer for most cases
- Use two coats for heavy stains or porous wood
- Allow primers to dry completely before painting
- Sand lightly between primer and paint for a smooth finish
Choosing the right primer and applying it correctly makes a solid base for your paint job. This leads to a beautiful, lasting finish on your stained wood.
Painting Over Different Wood Finishes
Painting over wood stains and finishes can change your furniture or woodwork. It’s important to pick the right paint for your project.
Latex Paint Application
Latex paint is best for water-based stains. It dries fast and is easy to clean. Use a foam roller for smooth surfaces or a brush for textured ones.
Apply thin coats, letting each dry before adding the next. Most projects need 2-3 coats for even coverage.
Oil-Based Paint Application
Oil-based paints are good for oil-based stains. They dry slower but last longer. Use a natural bristle brush for smooth application.
Apply in thin layers, letting each dry fully. This can take up to 24 hours between coats.
Chalk Paint Techniques
Chalk paint is great for a matte finish and easy distressing. It often doesn’t need primer, making it perfect for quick projects. Apply with a brush in thin layers.
For a smooth finish, sand lightly between coats. Two coats usually give good coverage.
Remember, proper prep is key when painting over wood stains and finishes. Clean the surface well and sand if needed. This helps the new paint stick better and last longer. With the right approach, you can give your wood a fresh, new look.
Special Considerations for Indoor and Outdoor Projects
When painting stained wood, think about where it’s going. Indoor and outdoor projects need different things. For inside, use interior paint. Outside, you need “interior/exterior” paint to fight rot and weather.
Stained wood painting tips for indoor projects:
- Choose paint with low VOCs for better air quality
- Use a bonding primer for long-lasting adherence
- Apply at least two coats of paint for a durable finish
- Sand between coats for a smooth surface
- Pick UV-resistant paint to prevent fading
- Use marine-grade varnish for added protection
- Apply a water-resistant sealant as a final coat
- Plan your project around dry weather conditions
Remember, good air flow is key for indoor painting. Open windows and use fans. For outdoor, check the weather to avoid rain or high humidity.
Troubleshooting Common Issues
Painting stained wood surfaces can be tricky. Knowing how to solve common problems is crucial for success. Let’s look at fixes for tannin bleed, adhesion issues, and paint peeling.
Dealing with Tannin Bleed
Tannin bleed happens when wood oils leak through paint, causing color changes. To stop this:
- Use a stain-blocking primer before painting
- Apply two coats of primer for darker woods
- Let each coat dry fully (30-40 minutes)
Adhesion Problems
Adhesion issues can cause paint to lift or bubble. To avoid this:
- Sand the surface with 120-grit sandpaper
- Clean well with trisodium phosphate (TSP)
- Use a bonding primer for oil-based stains
Paint Peeling Solutions
To fix peeling paint:
- Scrape off loose paint
- Sand edges smooth
- Prime bare spots
- Paint the whole surface again
Remember, the right prep is essential when painting stained wood. Sand, clean, and prime well to dodge 80% of common problems. If issues still happen, getting professional help can ensure a great finish.
Conclusion
Painting over stained wood is a great way to update your space. With the right prep and technique, you can make your wood look new again. Cleaning, sanding, and priming well before painting is key.
Choosing the right paint is important too. Latex paints dry fast and are easy to clean up. Oil-based paints give a smooth, lasting finish. Chalk paint is perfect for a vintage look. And, using low-VOC paints can cut harmful emissions by half.
How you apply the paint matters a lot. Use at least two thin coats for better durability. After painting, 90% of pros say to seal it for longer life. With these tips, you’re ready to tackle your next wood painting project, indoors or outdoors.